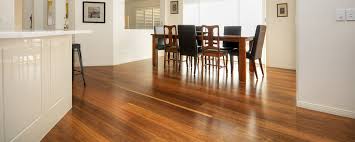
Hardwood floors are associated with old homes. It’s almost difficult to find an old house without them. And yet, they are vanishing since individuals do not understand how resilient and long-lasting they are. Unknowing property owners and specialists remove or conceal these remarkable floorings when they could be conserved and utilized for another 100+ years!
Other than refinishing wood floorings, the most typical repair work we encounter is board replacement. It may seem intimidating to get rid of a tongue and groove floor board without harming the neighboring boards, however with a couple tricks of the trade I’ll teach you to get it done yourself if you are a brave DIY warrior.
And do not miss my little secret to a perfect match at the end!
Step # 1 Remove the Damaged Boards
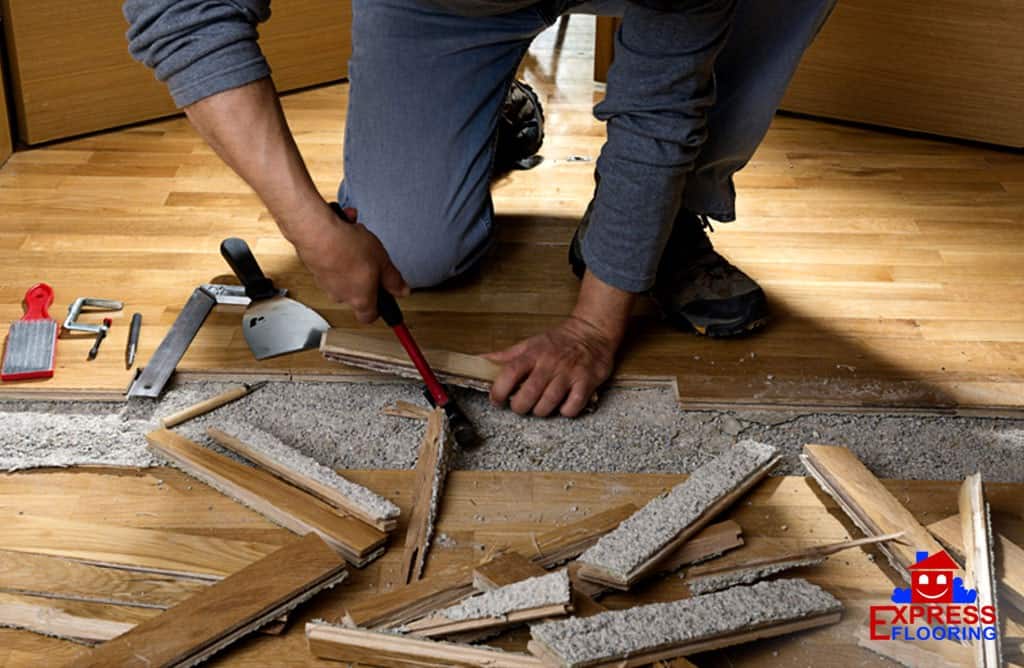
Whether it’s termites or animal discolorations, some boards will undoubtedly be beyond conserving. When you find these boards, you’ll need to eliminate them entirely and discover an appropriate replacement (more on this later). It’s also essential to take the entire board, or a minimum of stagger the joints like in the picture below. This will permit the spot to blend in flawlessly with the existing floor. You’ll require a few tools to get the job done too:
1.
- Circular Saw
- Hammer.
- Cat’s Paw/Trim Pry Bar.
- Wood Chisel.
5.Multi-Tool (recommended).
- Brad Nailer.
– Mark the Boards I mark the specific boards I will be getting rid of really clearly along their entire length so there are no mistakes.
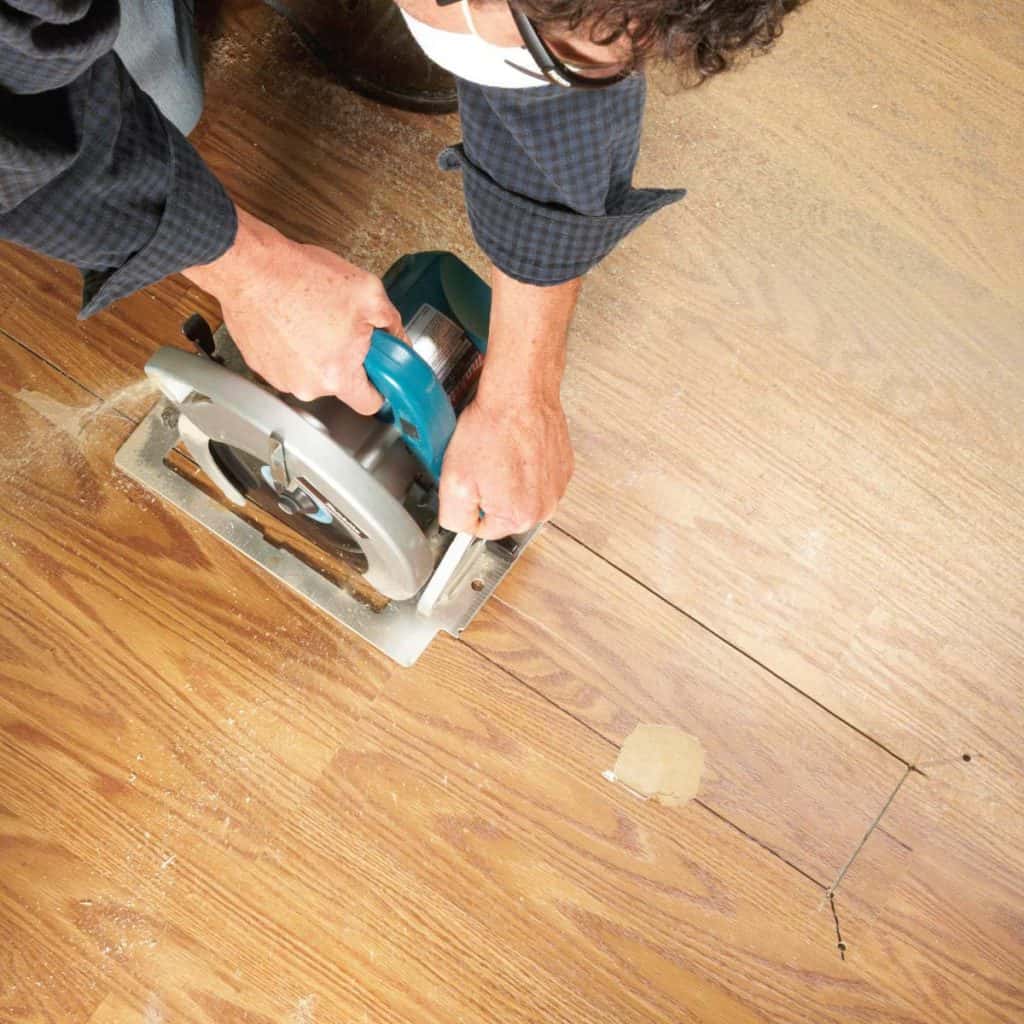
– Determine Thickness You require to find out how thick they are (* this is necessary *). You require to know how thick the boards are so you can set the depth of the cut on your circular saw appropriately. The majority of old wood floorings are between 1/2 ″ and 1 ″. The very best location to find the depth is to get rid of a flooring heat register or bring up a limit. The limit is less fun.
– Set Saw Depth Once you know the thickness of your flooring, set your circular saw to just a hair much deeper than the thickness of the flooring (about 1/32 ″).
– Cut 2 Lines– Make 2 parallel plunge cuts into the floor board along its length with the circular saw. Start and finish as close as you can to the ends without crossing into the next board. You’ll basically be cutting the board into 3 slimmer boards. One piece will have the tongue, one piece the groove, and the middle piece will be free drifting.
– Finish Cut With Multi-Tool– To end up the cut, you require a multi-tool or chisel. Cut the percentage of wood remaining to the end of the board so that all 3 pieces of the board are completely independent of each other.
– Remove the Pieces– The middle piece needs to come out easily with a pry bar or perhaps your fingers. The groove side will likely need a bit more coaxing with your pry bar. The tongue side will have been pin down and so you’ll require to utilize the feline’s paw to either dig out the nails or simply tear the staying piece out. This side usually breaks a few times on its way out.
– Clean Up– Vacuum out all the saw dust and ensure the tongue and groove of the remaining boards are clear of any remaining wood and in good shape.
Action # 2 Install the Replacement Boards.
So, now that it’s all tidied up and free of any broken boards, you need to patch the flooring with your replacement boards. If your replacement boards are not the EXACT exact same width and density as the originals, the repair will not operate at all. Do not think something close will suffice. Here is the way to get the boards into place effectively.
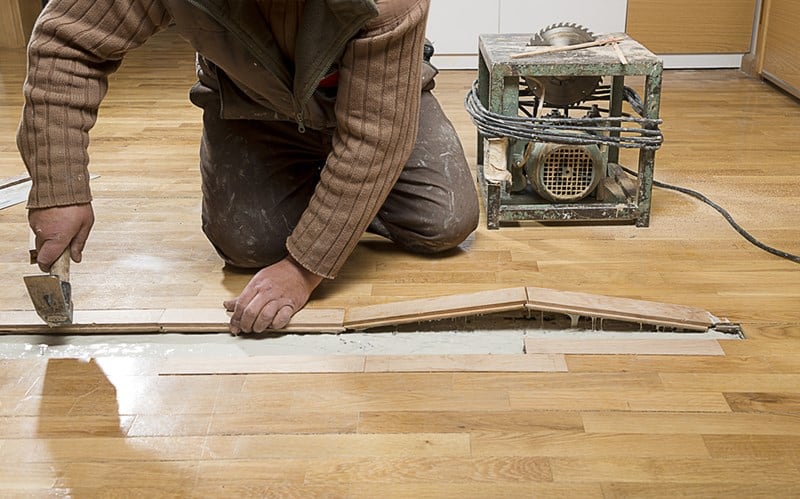
– Measure & Cut to Length– Measure the length you require to change and cut your replacement to size. It will require to be tight so if anything, do not cut it short. Cut it long and slip up on it if you must.
To change simply a few boards:.
– Remove the Groove– You’ll need to eliminate the bottom half of the groove on your replacement board. I usually use a table saw to cut it off easily, but a wood sculpt or hand plane will work fine. It doesn’t need to be pretty, simply don’t harm the top of the board. This is only to be done if you are changing simply a few boards. For bigger sections see the instructions in the following section.
– Insert Tongue Side First– Insert the replacement piece tongue side initially into the existing flooring. It will need some force to get it into place, but do not be too aggressive. Sometime a piece of scrap lumber can be utilized as a beater board so you can carefully hammer the piece in place with scarring the surface.
– Face Nail in Place– Once the board is seated effectively and flush with the existing floor, you can nail it in place. I put two 1 1/2 ″ brads on each end and after that every 16-24 ″ alternating sides. Keep in mind that given that we got rid of the bottom half of the groove, the only thing holding that side down in the nail. So you might need a couple more nails on the groove side if the board isn’t completely snugged down at first.
To change a large section:.
– Insert Groove Side First– If you’re doing a large section, you ought to install the groove side initially. There is no need to remove the groove. Simply fit the replacement’s groove into the existing board’s tongue. Use a beater board and hammer to make sure it is fully seated and snug.
– Blind Nail– With this strategy you can now blind nail the board in place by nailing through the tongue into the subfloor or flooring joist. Do this every 16 ″ or every where you have a joist if there is no subfloor.
– The Last Board– In order the set the final board, you will have to follow the directions above about removing the groove. and advance from there.
Step # 3 Refinish the Repair.
Once the boards remain in place, the only method to have a seamless match is to refinish the whole floor. This will take care of any high or low areas and will likewise guarantee a constant surface throughout.
If you changed just a couple boards, you may be able to complete them prior to setting up, but they will still look slightly different. If a full refinishing is beyond your reach or price range right now then just relax. The replacement boards will be fine up until the time to refinish deal with your spending plan. Till then, you’ll simply need to take pleasure in the truth that you do not have crumbling or severely stained boards any longer!